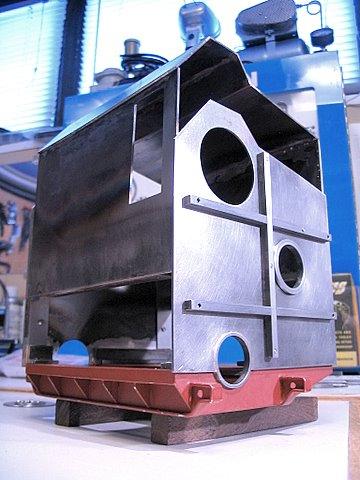
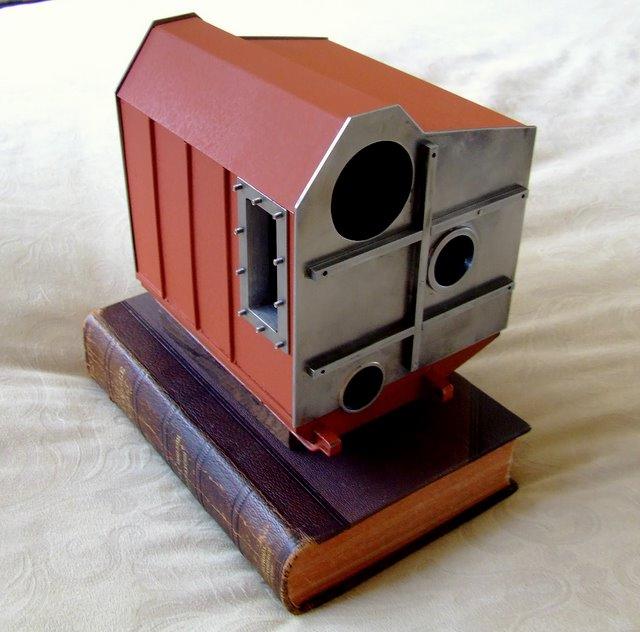
It had progressed to this state prior to starting the
pressure vessel (circa Jan. 25, 2009)
(the front has since been cleaned up)
The red primer is being used as a visual
aid for sanding, etc. prior to final finishing
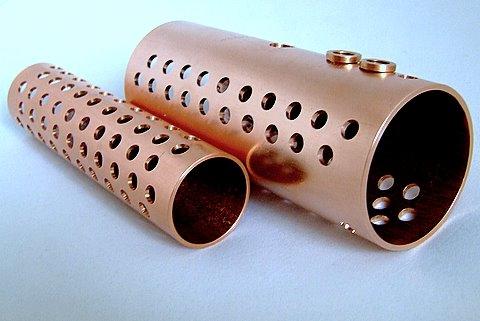
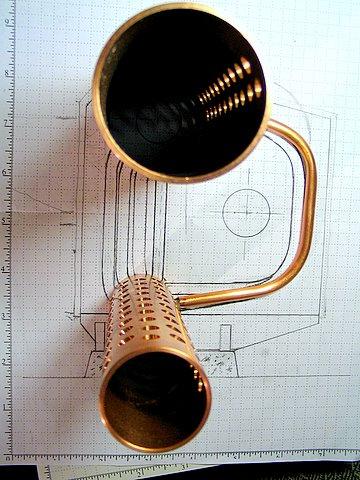
There is a lot to do before I start any silver brazing on the new
boiler. I have been doing much brainwork in working out the tube layout
- but I have little to work with... The
decisions were taken and I completed drilling the two drums. At least
there is now a hole at every required location - however that is only the
beginning. I have arranged things so that most of the water tubes do not enter
the thick drum walls along radii, but at various angles. This
tubing (1/4" - 24 gauge) cannot take sharp bends without deforming. This is to allow
me to use the largest possible water tubes with thinnest possible walls,
since this arrangement requires the least sharp bending. It is the ideal
tubing for a watertube boiler - very good heat conduction to the water.
Which brings us to the two jobs facing me prior to silver brazing.
First the holes must be made in a shape somewhere between elliptical and
oval. Fortunately, I think I can form them once I determine the exact
entry angle, by introducing a rotating reamer and then twisting the drum slowly
until the required angle is reached. It will not be a good time for
mistakes. The second job of course is to make all the tubes, putting in
the bends where needed, cutting them to length and then re-opening the ends out
to the original size.
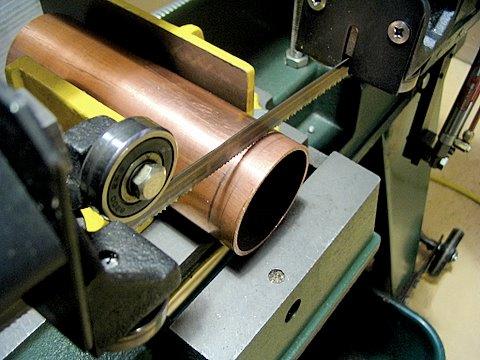
A long term concern is for my dwindling supply of heavy-wall copper
pipe in the 50mm to 150mm range. I have some, but not a lot. To buy
it here these days would require having a five metre length shipped from who knows
where - arriving dented after long, careless (and expensive) shipping. The
total cost would be ridiculous. I used to buy it in any length,
over-the-counter in one of several shops here in town.
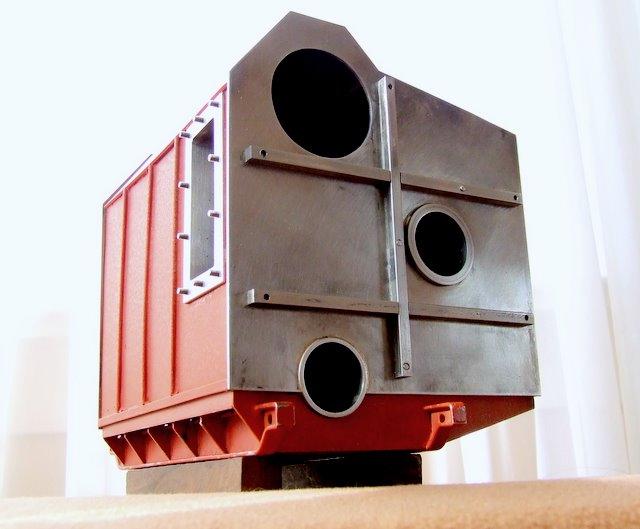
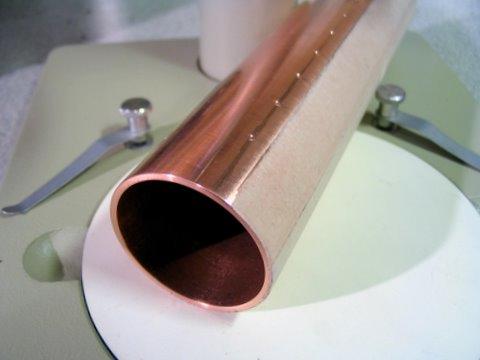
My progress as of Feb 16/09
Here is how it came
about:
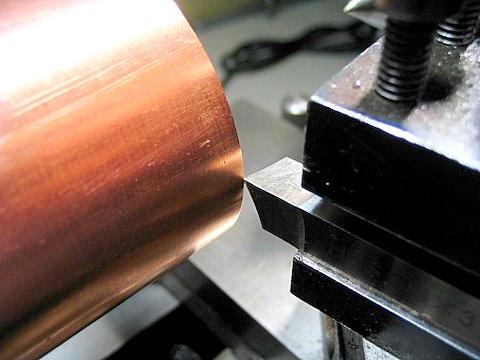
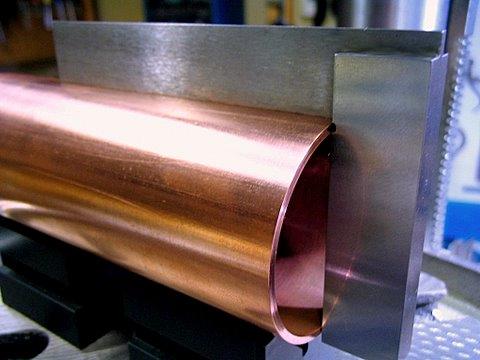
Since the drums required bumped-out heads, I had to remove the
equivalent amount of shell length in order for the completed pressure vessel to fit within the boiler
casing.
Finishing off the drum ends in the Craftex
lathe
The ends had to be square, as I used them for reference
to mark out the tube rows
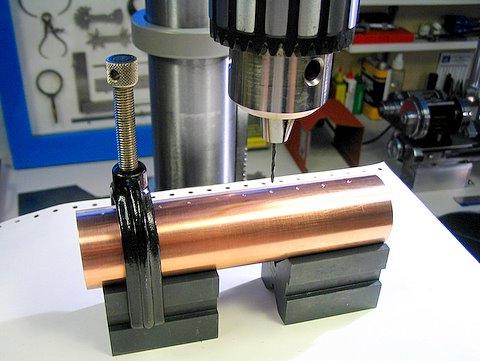
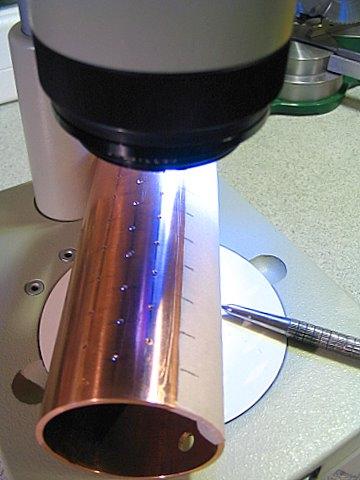
Punch-marking the lower drum under the Lomo
stereo microscope
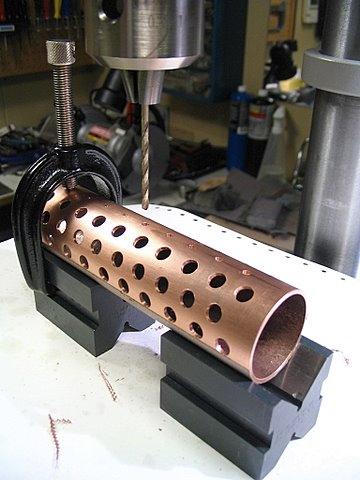
Drilling the pilot holes with my new continuously variable speed drill
press
This drill has lots of power
- it breaks through smoothly
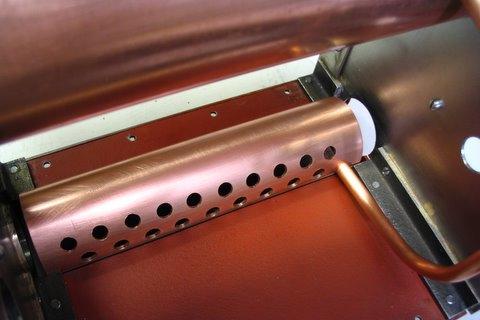
Testing the lower drum in situ
in the enclosure
(still part way through the drilling process)
Note that eventually all inside surfaces of the enclosure will
be clad with mirrored aluminium tape
which will have an overlay of 1/2" thick high-temperature
insulating blanket
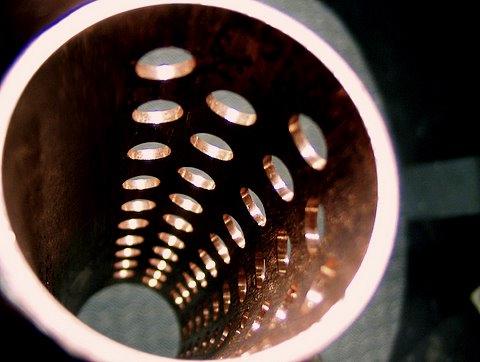
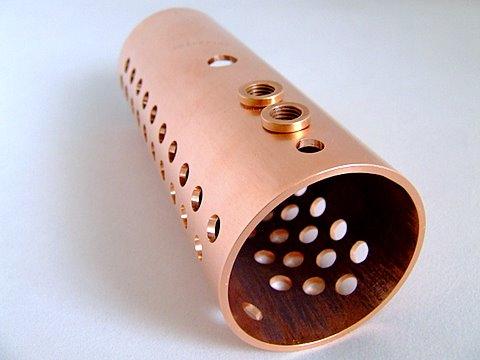
Inside the (small) mud drum
The small drum
- the drum is much closer so the camera lens causes it to falsely dwarf the boiler
casing!
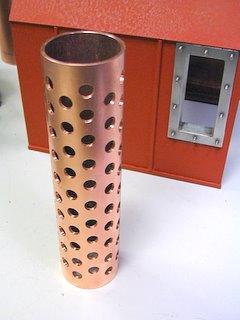
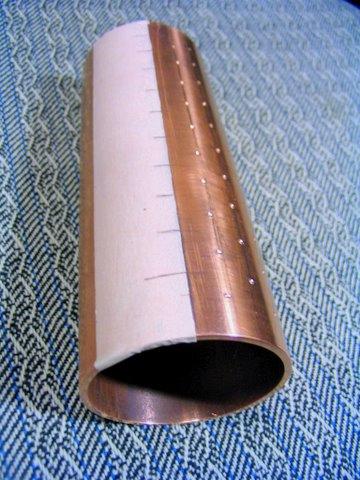
The larger (upper) steam drum
Masking tape used to lay out each tube row
Under the microscope I marked the positions by hand
with a prick punch
I later used a small hammer on the workbench to tap the punch
harder
(finally the finished dimples to the left of the masking tape have been
expanded with an automatic punch)
LED light
Another check to be sure I wasn't going
astray!
Finally the holes for the steam outlet, two safety
valves and
vent valve were cut on top of the steam
drum
There will be considerable internal structure in this
upper drum
(at this point I am still working out those
details)
A close-up view of the work as of Feb 16,
2009